How to use PStill to apply a stamp / watermark on the output
This tutorial describes how to use PStill to put a non-removable, visible stamp on a PDF page.
Example for stamping/watermarking with PStill
1. Generate the stamp/watermark. PStill can impose several file types on its output: TIFF, EPS or PDF. So prepare your 'stamp' with any layout / drawing program and save it to any of such a filetype. In this tutorial we assume you saved the stamp as PDF to 'c:\stamps\MyStamp.pdf' but any other location will work too. You have just to adjust the path to this location.
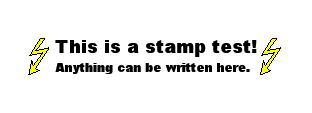
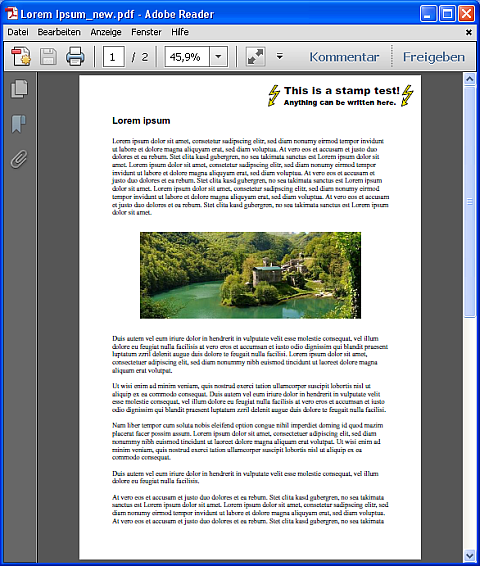
Example PDF used as a stamp / watermark in this example
2. Start GPStill.exe. You will see this window:
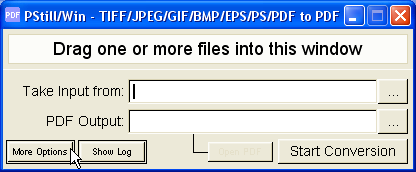
To open the Options click on 'More options'
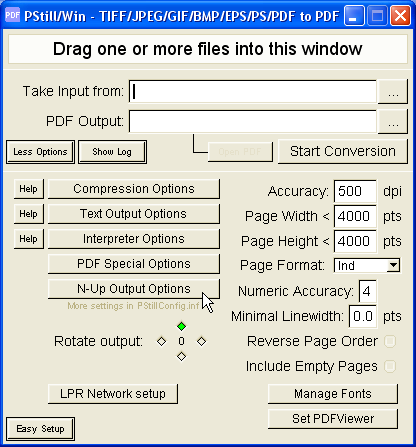
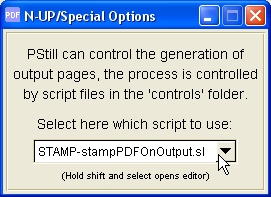
3. Now click on 'N-UP Output Options'
4. Hold the 'shift' key and select the STAMP-stampPDFOnOutput.sl script with the mouse. As soon as you release the mouse a text editor (usually notepad.exe) opens with the contents of the script.
Do not be afraid, it is almost ready and done. You just need to change the stamp source to your stamp PDF and set the position on the page. The script consists of several lines which are either commands or comments. Comment lines start with '%'.
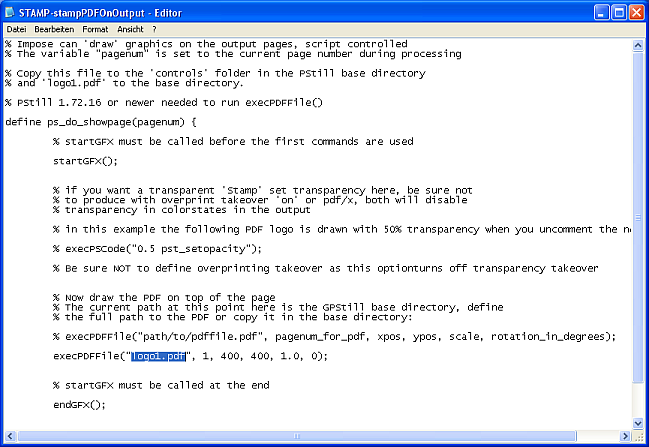
5. Find the line 'execPDFFile("logo1.pdf", 1, 400, 400, 1.0, 0);' in the script.
6. Enter the path to your stamp, so the line reads: execPDFFile("c:\\stamps\\MyStamp.pdf", 1, 400, 400, 1.0, 0);
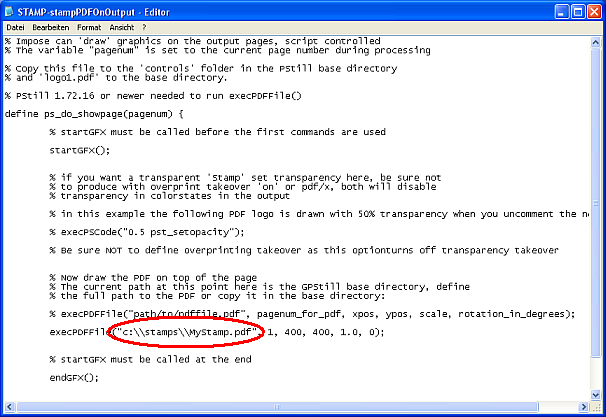
As you see the full path is entered here and all '\' characters are written as '\\'. If you don't want to remember the full path just copy the stamp PDF to the PStill working directory, then you can just call it with its base filename ("MyStamp.pdf" in this case). In this example we use the full path however.
7. Enter the desired position of your stamp on the output page. The position is defined by the "400,400" in above line measured in pts (1/72 inch). 0,0 is the lower left edge. In this example we want to place the stamp at 300,750 - thats 300 pts to the right and 750 pts to the top:
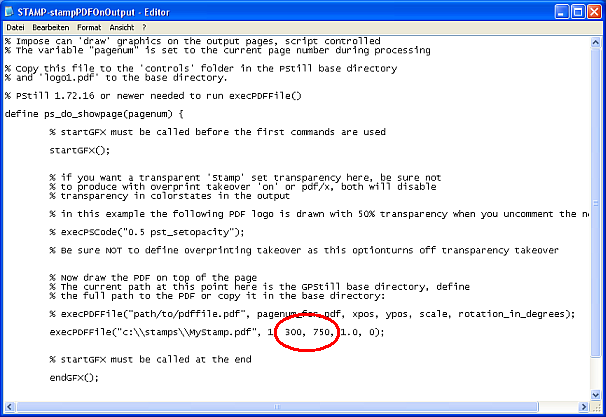
8. (Optional) Enter now the scale factor and the rotation in degree for the stamp, The scalefactor is the 1.0 and the rotation is the 0 in the line. You do not need to do this if you don't want to scale or rotate the stamp, just leave the values unchanged.

9. Now save the changes in the text editor. You can also save it under a different name, however the file type must always be '.sl' to have PStill recognize it as valid script.
10. The script should already be set in the N-UP Script dialog, if not select it again but do not hold shift this time. You can now close the N-UP script dialog.
11. Drag and drop a file into the GPStill window and the stamp / watermark will be applied. In the future you can just select the script and PStill will automatically stamp its input.
Click to view the equivalent options for this operation for command line use (Windows and UNIX)
The script makes stamping very flexible. Multiple stamps can be placed this way, just add more "execPDFFile(...);" lines in the script. You can also stamp just page 1 (or any other page number) with adding a simple 'if (pagenum == 1) ' before the execPDFFile() line.
PStill/PSRW can also apply stamps on EPS or PS
This tutorial assumes you stamp with PDF. For stamping with EPS or TIFF you need to use the execEPSFile(...); call. See this script as example.
Questions regarding this tutorial? Send me an email.